DIY Simple Cute Gift Box
If you want to add a personal touch to the gifts for your family and friends, you can make a beautiful gift box actually by yourself. Here is a nice DIY tutorial on how to make a simple cute gift box. It is very easy to make. Just cut out the template and fold it. Then it’s all about your creativity to dress up the gift box with all kinds of ornaments: ribbon flower, beads, lace, ribbon bow, etc. It’s a great gift box idea for parties, weddings, baby showers, bridal showers and other occasions where you want to pack a small gift for your guests. Happy crafting!
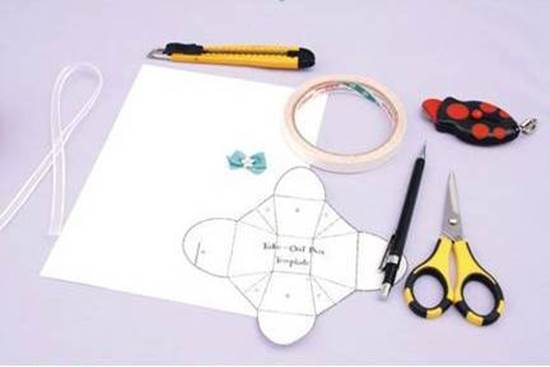
What you need:
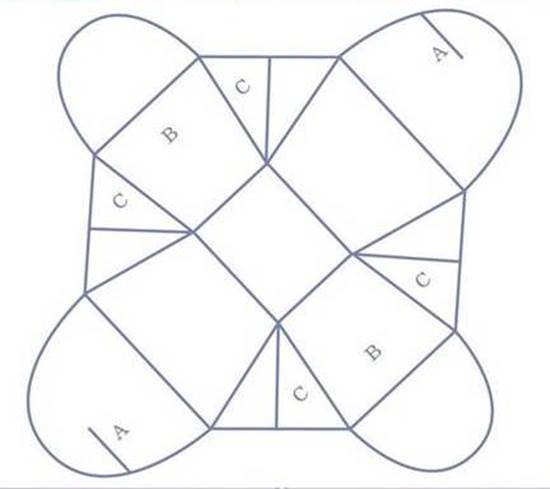
- Template;
- White construction paper;
- Blue patterned paper;
- Scissors;
- Double-sided tape;
- Pen;
- Glue;
- Office knife;
- Ornaments: lace, beads, ribbon bows, etc.
How to do:
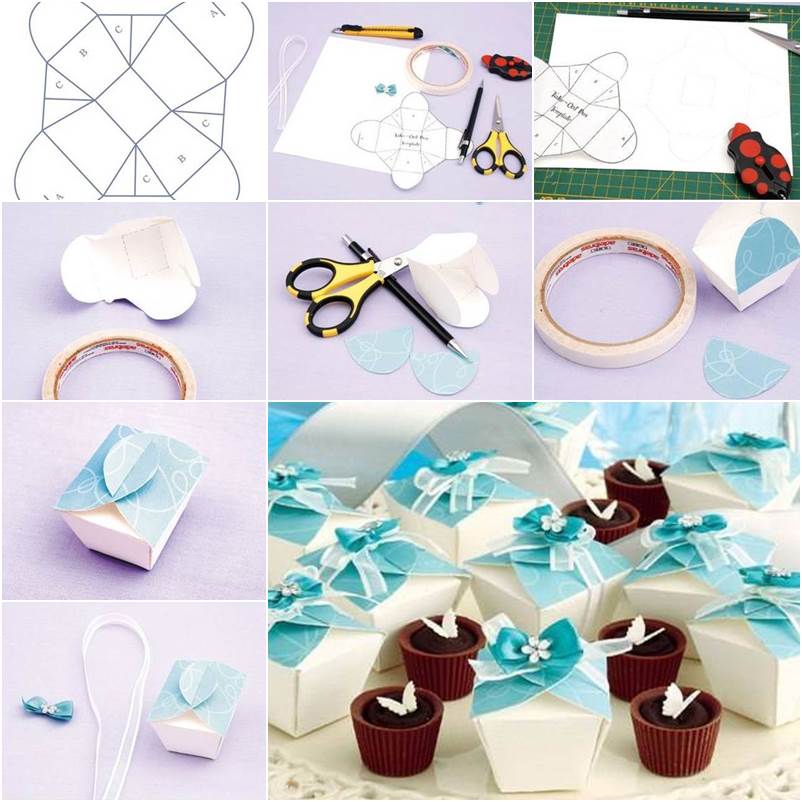
1. Print out the template (you can print the template directly on the construction paper).
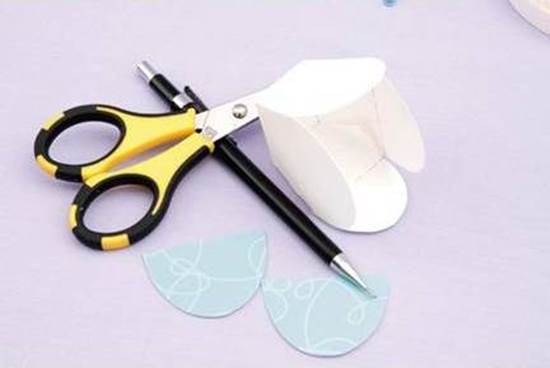
2. Gather all the materials and tools.
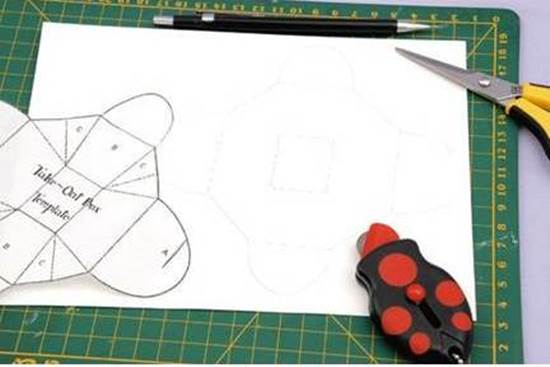
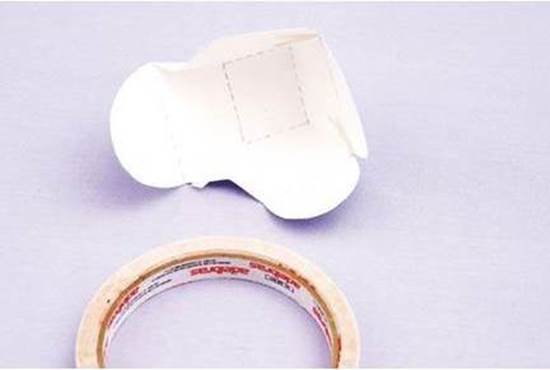
3. Trace the template on the construction paper and cut it out. Use a pen or knife to mark folding lines on the construction paper.
4. Fold the template according to the folding lines. Use double-sided tape to secure the C parts in the template.
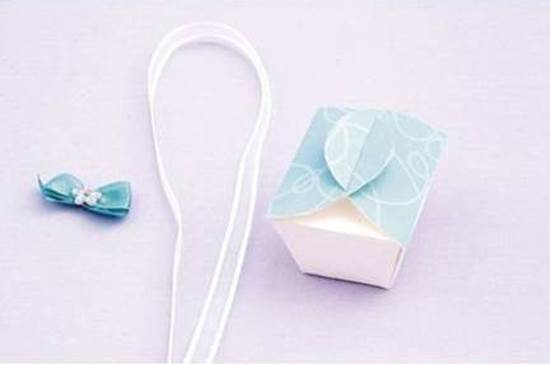
5. Cut two half circles out of blue patterned paper. Their sizes correspond to part A of the template.
6. Use double-sided tape to attach the half circles to the gift box.
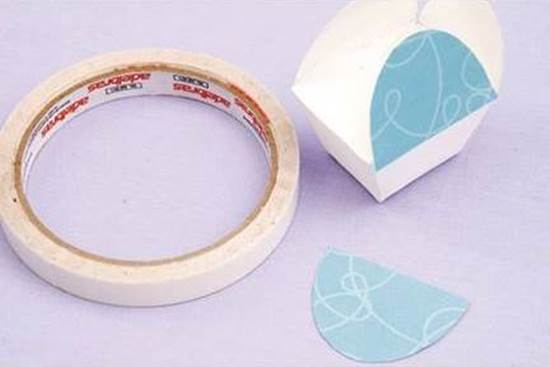
7. Make two cuts in part A as shown in the template and close the gift box by interlocking the two half circle lids.
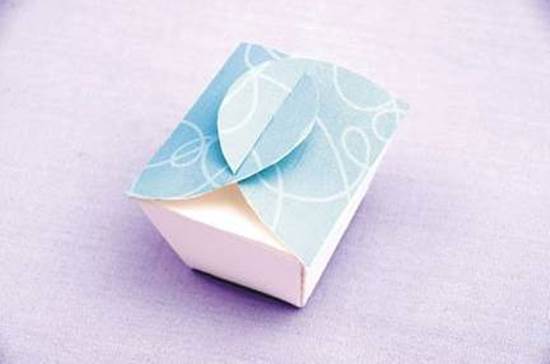
8. Now comes the decoration part. Tie a ribbon bow on the lids and attach other ornaments. Done!
9. Don’t they look beautiful on the table? Enjoy!
